
Natürliche Gesichtscreme selber machen – Basisrezept für Einsteiger
Hautpflege ist Chemie – aber du brauchst kein Labor. Du musst keine Chemikerin sein, um eine Gesichtscreme herzustellen, die sich luxuriös anfühlt und wirklich wirkt. Hier findest du eine smarte, anfängerfreundliche Formel mit echter Wirkung und leicht erhältlichen Zutaten.
Diese Anleitung richtet sich an alle, die verstehen wollen, was sie auf ihre Haut geben – und die Freude daran haben, selbst Pflege zu kreieren, die wirkt.
Was macht eine Creme stabil und hautfreundlich?
Eine echte Creme ist mehr als nur geschmolzene Öle. Sie ist eine Emulsion – das Zusammenspiel von Wasser und Öl, verbunden durch einen Emulgator. So entsteht eine Pflege, die angenehm auf der Haut liegt und Feuchtigkeit bewahrt.
Das brauchst du
- Wasserphase: Rosenwasser, Aloe-Vera-Saft oder Hydrolate
- Ölphase: Jojobaöl, Mandelöl oder Squalan
- Emulgator: Verbindet beide Phasen – z.B. Olivem 1000
- Optionale Wirkstoffe: Für zusätzlichen Pflegeeffekt, etwa Panthenol oder pflanzliche Extrakte
- Konservierungsmittel: Unverzichtbar bei wasserhaltigen Rezepturen – z.B. Geogard 221
Ein kurzer pH-Test lohnt sich immer – einfache pH-Teststreifen reichen völlig aus.
Basisrezept für Gesichtscreme (100 g)
Phase A – Wasserphase (70,2 %)
- 65 % Rosenwasser (oder destilliertes Wasser)
- 5 % Glycerin
- 0,2 % Xanthan
Phase B – Ölphase (23 %)
- 10 % Jojobaöl
- 7 % Squalan
- 6 % Olivem 1000 (Emulgator)
Phase C – Abkühlphase (6,8 %)
- 3 % Panthenol (optional)
- 0,8 % Konservierungsmittel (z.B. Geogard 221)
- 3 % Aloe-Vera-Extrakt (optional)
- pH-Wert auf 5,0–5,5 einstellen
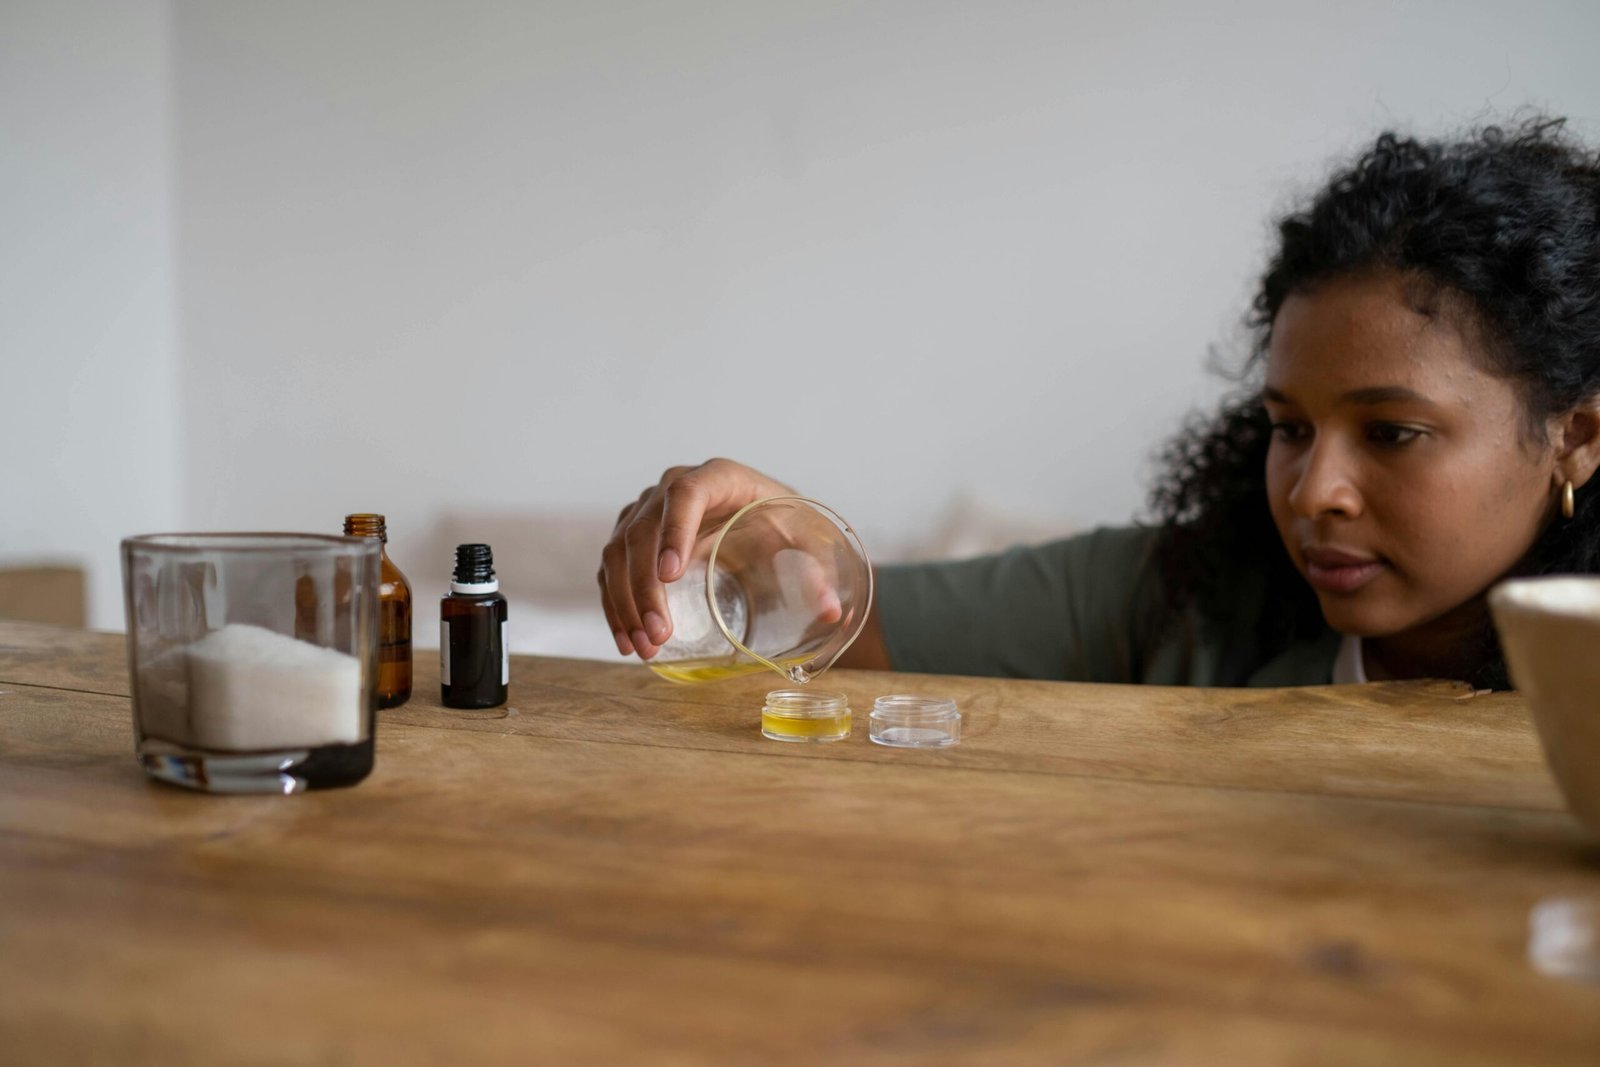
Werkzeuge, die du brauchst
- 2 hitzebeständige Bechergläser
- Küchenwaage (am besten mit 0,1 g Genauigkeit)
- Wasserbad + Thermometer
- Milchaufschäumer oder kleiner Schneebesen
- pH-Teststreifen
- Alkohol zum Desinfizieren der Werkzeuge
Schritt-für-Schritt-Anleitung
- Erhitze Phase A und Phase B getrennt auf 70 °C im Wasserbad.
- Gib Phase B langsam in Phase A und rühre dabei kontinuierlich.
- Emulgiere die Mischung 2–3 Minuten mit einem Milchaufschäumer oder Handmixer.
- Lass sie auf etwa 40 °C abkühlen und füge dann Phase C hinzu.
- Überprüfe den pH-Wert und passe ihn gegebenenfalls mit Zitronensäurelösung an.
- Fülle die Creme in saubere Glastiegel und lass sie 24 Stunden ruhen, bevor du die Textur prüfst.
Tipps für Einsteigerinnen
- Desinfiziere alle Werkzeuge gründlich – auch bei DIY-Projekten.
- Starte mit kleinen Mengen (50–100 g) zum Testen.
- Notiere deine Schritte – Formulieren lernt man durch Erfahrung.
- Konservierungsmittel sind Pflicht bei wasserhaltigen Produkten.
- Die Creme wird beim Abkühlen dicker – bleib geduldig!
Deine Creme, dein Rezept, dein Rhythmus
Wenn du deine eigene Creme herstellst, entscheidest du, was auf deine Haut kommt – über Textur, Duft und Wirkung. Du kopierst keine Anleitung, du lernst ein Handwerk. Diese Basisformel ist nur der Anfang.
Alles für deine DIY-Gesichtscreme
Diese Produkte verwende ich selbst – alle über Amazon erhältlich.
Zutaten
Basis der Wasserphase – duftet wunderbar und beruhigt die Haut.
Bei Amazon ansehen →Leichtes Pflegeöl, das der Haut ähnelt und gut einzieht.
Bei Amazon ansehen →Ultraleicht, nicht komedogen und für alle Hauttypen geeignet.
Bei Amazon ansehen →Feuchtigkeitsbinder – hält die Haut geschmeidig.
Bei Amazon ansehen →Pflanzlicher Emulgator – verbindet Wasser- und Ölphase sanft.
Bei Amazon ansehen →Beruhigt, regeneriert und stärkt die Hautbarriere.
Bei Amazon ansehen →Kühlt, spendet Feuchtigkeit und unterstützt die Regeneration.
Bei Amazon ansehen →Natürlicher Verdicker für die Wasserphase.
Bei Amazon ansehen →Mildes Konservierungsmittel – Pflicht bei wasserhaltigen Rezepturen.
Bei Amazon ansehen →Werkzeuge
Zum getrennten Erhitzen der Phasen.
Bei Amazon ansehen →Präzises Abwiegen ist das A und O beim Formulieren.
Bei Amazon ansehen →Damit du die Temperatur genau triffst.
Bei Amazon ansehen →Perfekt zum Emulgieren kleiner Mengen.
Bei Amazon ansehen →Schnelle Kontrolle, ob der pH-Wert stimmt.
Bei Amazon ansehen →Zum hygienischen Abfüllen deiner fertigen Creme.
Bei Amazon ansehen →Dieser Artikel enthält Affiliate-Links. Wenn du über diese Links kaufst, erhalte ich eine kleine Provision – für dich entstehen keine zusätzlichen Kosten.